Let's begin:

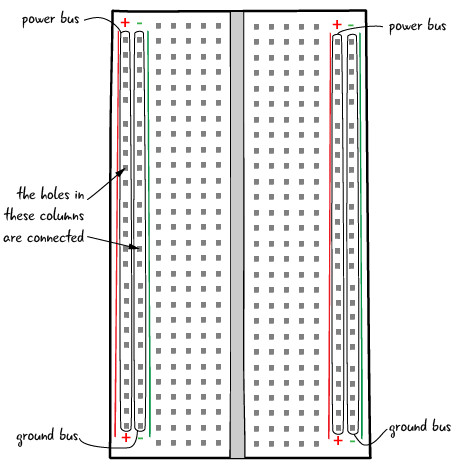
The slots in the breadboard are electrically connected. When you remove the adhesive backing, you can see lots of horizontal rows of metal strips on the bottom of the breadboard. The top part of the metal rows is connected by common clips that hide under the plastic holes, these clips allow you to stick a wire or the leg of the component into the exposed holes.
You can notice that each horizontal row is separated by a ravine. This ravine isolates both sides of the given row from one another and prevents them to be electrically connected.
Row numbers and column letters help you to identify individual holes in the breadboard. On either side of the medium-sized breadboard, you will find long strips called buses or rails, which are used to supply electrical power to your circuit.
The clips are not connected across the gap in the middle of the breadboard. You can use jumper wires to connect them electrically.
Kinds of Breadboards:
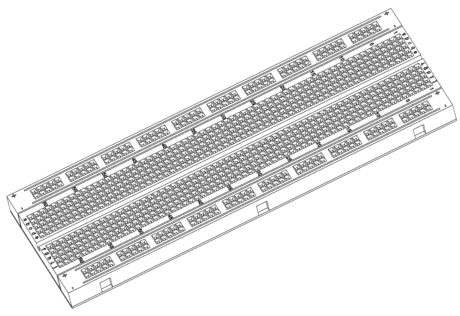
With the advancement of technology modern breadboards come in all shapes, sizes, and even colors. For ease of use, they are made of plastic. While larger and smaller sizes are available, the most common sizes you will probably see are “full-size,” “half-size,” and “mini” breadboards.
Most breadboards also come with tabs and notches on the sides that allow you to snap multiple boards together. However, a single half-sized breadboard is sufficient for many beginner-level projects.


No comments:
Post a Comment