Serial Monitor
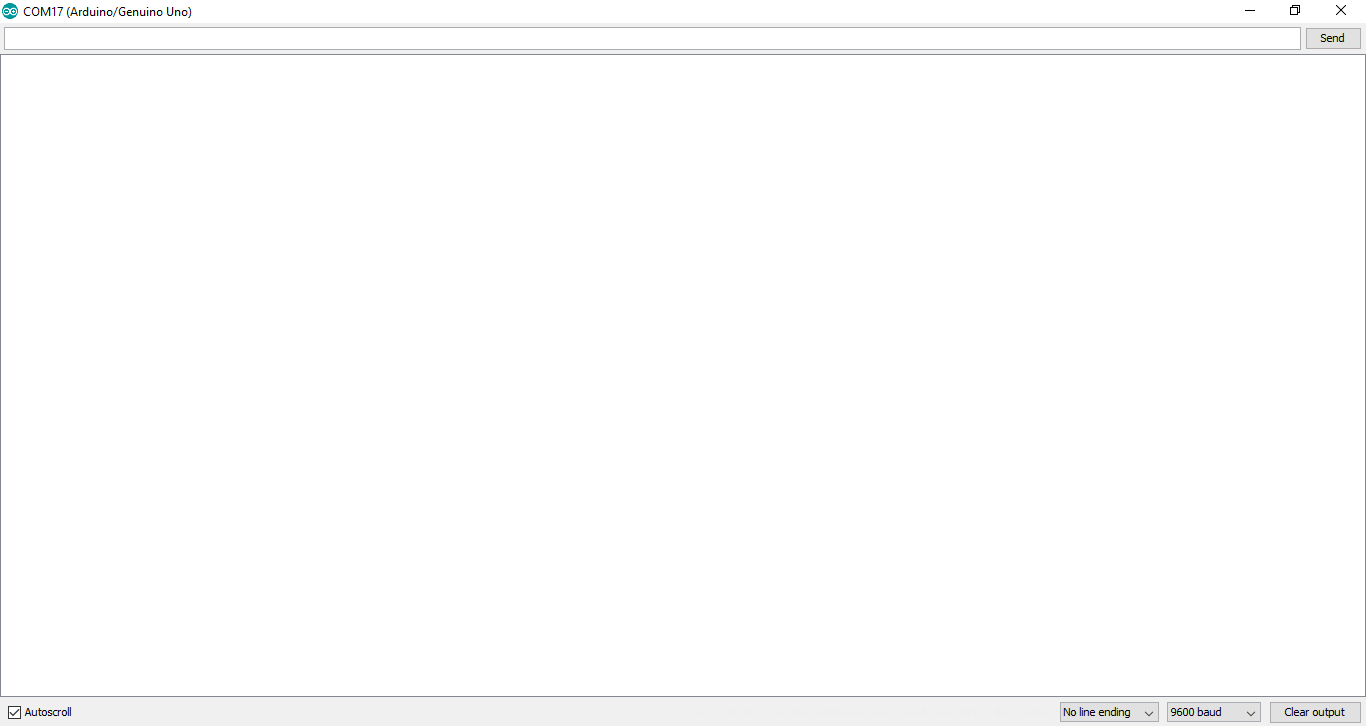
The serial monitor can be opened by selecting Tools->Serial monitor. It opens as a separate pop-up window in the Arduino IDE.

The serial monitor acts as a bridge between the Arduino board and the computer. The serial monitor only opens when an Arduino board is connected to the computer. It is used to send and receive serial data. So we can send characters to the Arduino or view data sent by other peripherals to the Arduino. To begin the data transfer, the command we use is Serial.begin(baud rate). The baud rate is the rate at which data is transferred. It is usually set at 9600 for Arduino Uno. Some of the other Serial commands in Arduino IDE are
- Serial.print()-prints data to the serial monitor as human-readable ASCII text.
- Serial.read()-reads incoming serial data.
- Serial.available-get the number of bytes(characters) available for reading from the serial monitor.
Let us see an example where we send data through the serial monitor to the Arduino.
Upload the code to your Arduino IDE
Your serial monitor should read

Serial Plotter
Serial plotter can be opened by selecting Tools->Serial plotter. It opens as a separate pop up window in the Arduino IDE.
The plotter is used to visualize the change of a variable with respect to time. When you call Serial.println(value), the Serial Plotter will put that variable on the plot. The Y-Axis of the plot auto-resizes.
If you want to plot multiple variables ,you’ll need a Serial.print(value) call for each of the variables, separated by a Serial.print(” “) or Serial.print(“/t”):
Serial.println(variable1);
Serial.print(” “);
Serial.println(variable2);
Let us plot a simple triangular wave using the following code:


No comments:
Post a Comment