For this exercise, you will need
- Arduino Uno [or other] board (Quantity: 1 no.)
- [Micro] USB cable A to B (Quantity: 1 no.)
- Arduino IDE on your computer
Let’s begin!
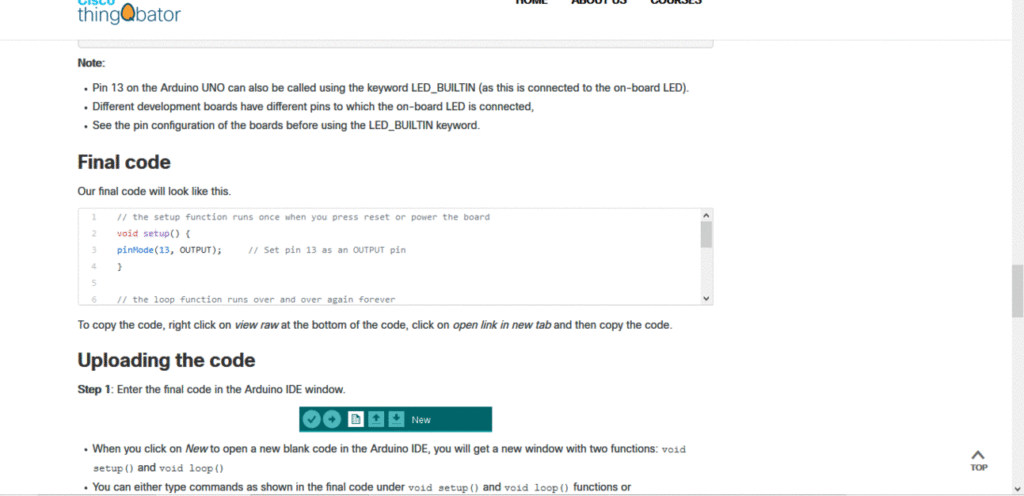
Step 1: Enter your code in the Arduino IDE window.
![]()
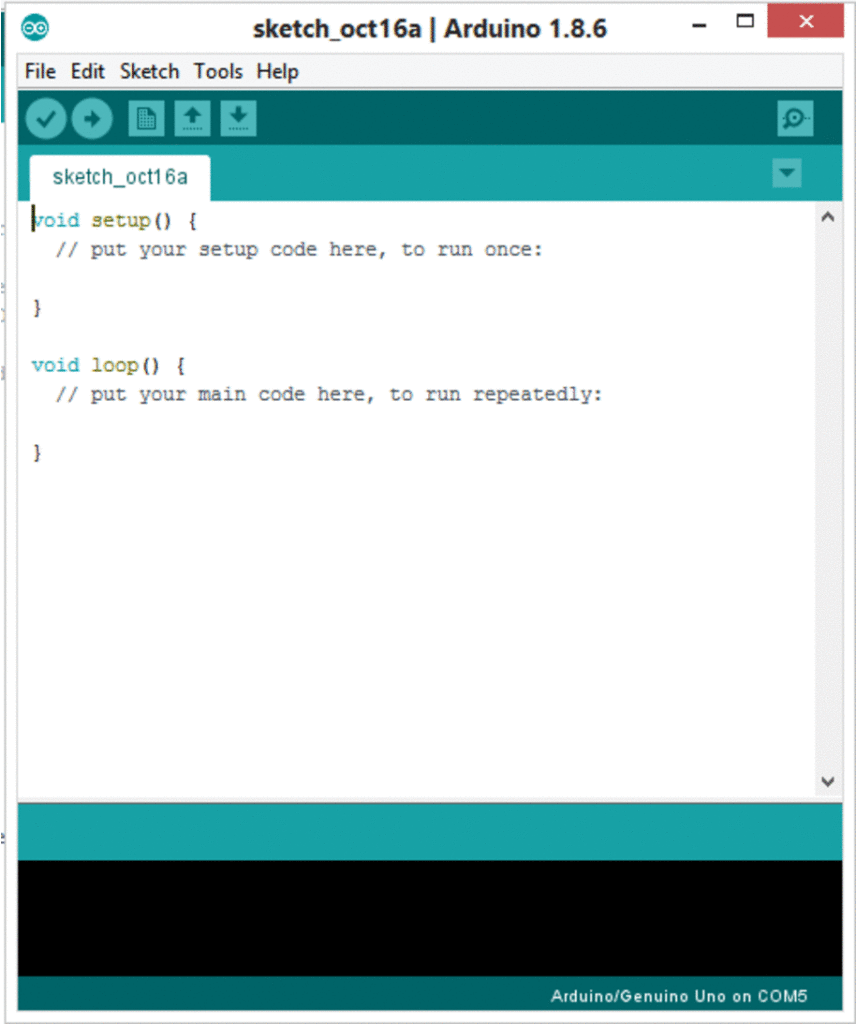
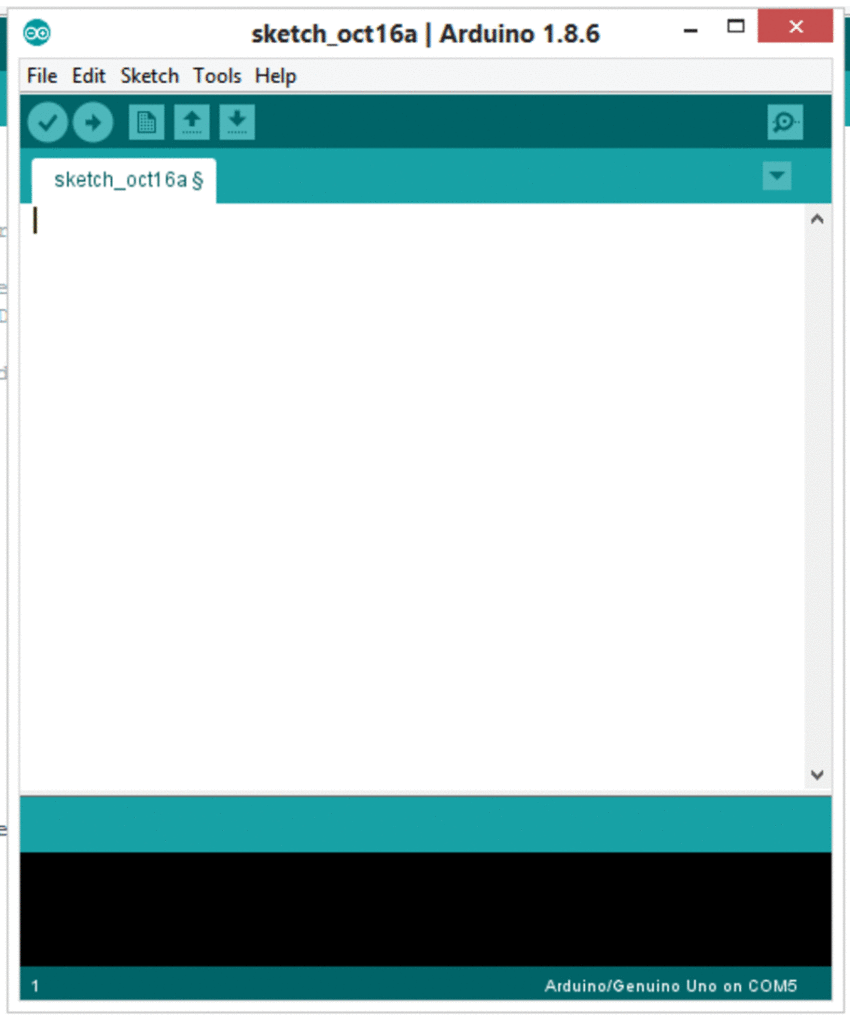
- When you click on New to open a new blank code in the Arduino IDE, you will get a new window with two functions: void setup() and void loop()
- You can either type commands under the void setup() and void loop() functions or
- Delete the contents of this window.
- Go to the code you want to use. Scroll to the bottom, right-click on view raw, and open in a new browser tab. Copy the code.
- Paste the your code in the Arduino IDE window.
Step 2: Compile/ verify the code by clicking on the verify button.
![]()
- Make sure the board is connected to your computer
- Check if the correct board and port is selected.
Step 3: Upload the code by clicking on the upload button, which is right next to the verify button.
" Before uploading the code do make sure that the default Tx and Rx pins of the Arduino are free and not connected to any peripheral device."
![]()
- The Arduino IDE provides a progress bar when it’s uploading.
- After it is done, you will see “Done uploading” on the bottom left of your IDE.
- If you encounter any errors, you need to go back to the code and fix the errors.


No comments:
Post a Comment